 Login
Login






















AI Summary
Roofing installation typically includes inspection, site preparation, tear-off where required, roof deck repairs, underlayment, drip edge, flashing, installation of the primary roofing material, ventilation work, final inspection, cleanup, and documentation.
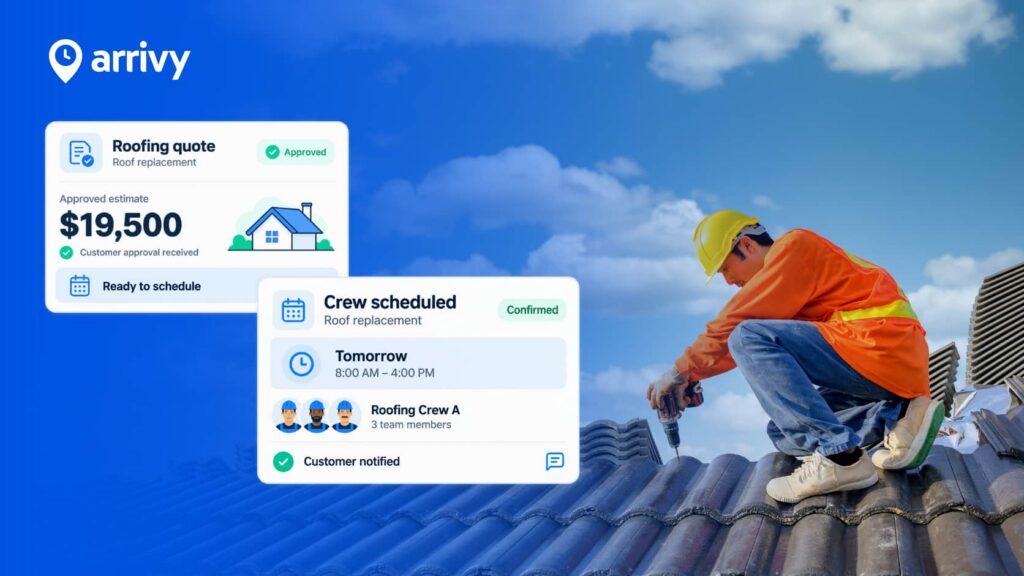
For roofing contractors, a well-run installation also depends on confirming materials, crew availability, site access, and weather before work starts. Changes found during tear-off should be documented and approved, while photos and quality checks should be completed before critical areas are covered.
The exact roofing installation process varies by material, manufacturer requirements, roof design, and local building codes. Roofing companies managing multiple crews also need a reliable process for scheduling, field updates, customer communication, quality control, and job closeout.
Roofing installation is usually described as a sequence of construction steps: tear-off, deck preparation, underlayment, flashing, roof covering, ridge work, and cleanup.
For a roofing contractor, those steps sit inside a larger job. Materials have to be available before the crew is scheduled. Site conditions need to match the estimate. Damage uncovered during tear-off may change the scope. Photos, approvals, and completion records have to reach the office while the work is still moving.
This roofing installation guide covers both sides of the job: the physical roof installation process and the controls roofing companies can use to keep installations consistent, documented, and ready for closeout.
What Does a Complete Roofing Installation Include?
The exact roof assembly depends on the material, slope, climate, building requirements, and manufacturer instructions.
A typical installation may include:
These components do not use the same installation method across every roof type. Asphalt shingles, standing-seam metal, TPO, and EPDM all have different fastening, flashing, detailing, and substrate requirements.
Manufacturer instructions and applicable building requirements should therefore take precedence over a generic installation sequence.
Roof Installation vs. Roof Replacement
A new roof installation and a roof replacement share many of the same installation stages.
The main difference is what happens before those stages begin.
On new construction, the roofing contractor may start with a newly prepared deck. A replacement job normally begins with removal of the existing roof covering.
Once the old roof is removed, conditions that were not visible during the estimate can appear, including:
Roofing companies should decide in advance how these findings will be documented, priced, approved, and added to the work order.
If you are developing the operating side of a roofing company as well as the installation process, Arrivy’s guide to starting a roofing business covers estimating, suppliers, staffing, safety, pricing, and day-to-day operations.
Roofing Installation Process: 10 Steps From Start to Finish
The following roof installation process is a general framework. The exact sequence can change by roofing system and project requirements.
1. Inspect the Roof and Confirm the Scope
The production team needs a usable record of the roof before scheduling the installation.
The inspection should capture the conditions that affect materials, labor, access, and installation requirements. Depending on the job, that may include:
Photos are particularly useful where the crew may need to verify an unusual condition later.
The approved scope should then state what is being removed, repaired, replaced, and installed.
That information should carry into the estimate and work order instead of being recreated by the office after the survey. Arrivy’s guide on moving roofing survey data into estimates covers this handoff in more detail.
Need a starting point for site inspections?
Create an Inspection Checklist
2. Confirm Materials, Crew, Equipment, and Schedule
Quote approval is only one scheduling dependency.
Before the installation date is finalized, confirm material availability, crew capacity, site access, equipment, customer availability, and the expected weather window.
Material checks should cover accessories as well as the main roof covering. A delivery of shingles is not enough if ridge caps, vents, flashing, starter material, or required fasteners are still missing.
Crew assignment should also reflect the project. A steep, complex residential roof may need a different crew setup from a straightforward replacement or a low-slope commercial job.
For companies running several jobs at once, roofing scheduling and rescheduling becomes especially important when weather or crew availability changes.
Arrivy’s scheduling and dispatch software gives operations teams a shared view of jobs, crews, schedules, and changes.
Managing several roofing crews?
Book a Demo
3. Prepare the Job Site
Before tear-off begins, the crew should prepare the property and work area.
Depending on the site, protection may be required for:
The crew also needs a planned location for debris and material handling.
Access conditions should be checked against the job record before work starts. If the crew arrives and finds a locked gate, occupied driveway, restricted staging area, or another condition that changes the plan, that information should be recorded rather than handled only through a call to the office.
Roofing also involves significant fall exposure. U.S. contractors should follow applicable OSHA requirements and any state-plan requirements that apply to the work.
OSHA provides specific guidance for fall protection during residential construction and roofing work: OSHA Fall Protection in Residential Construction.
4. Remove the Existing Roofing When Required
Replacement jobs normally require removal of the existing roof covering before the deck can be fully assessed.
Tear-off may expose conditions that were not visible during the initial inspection, such as:
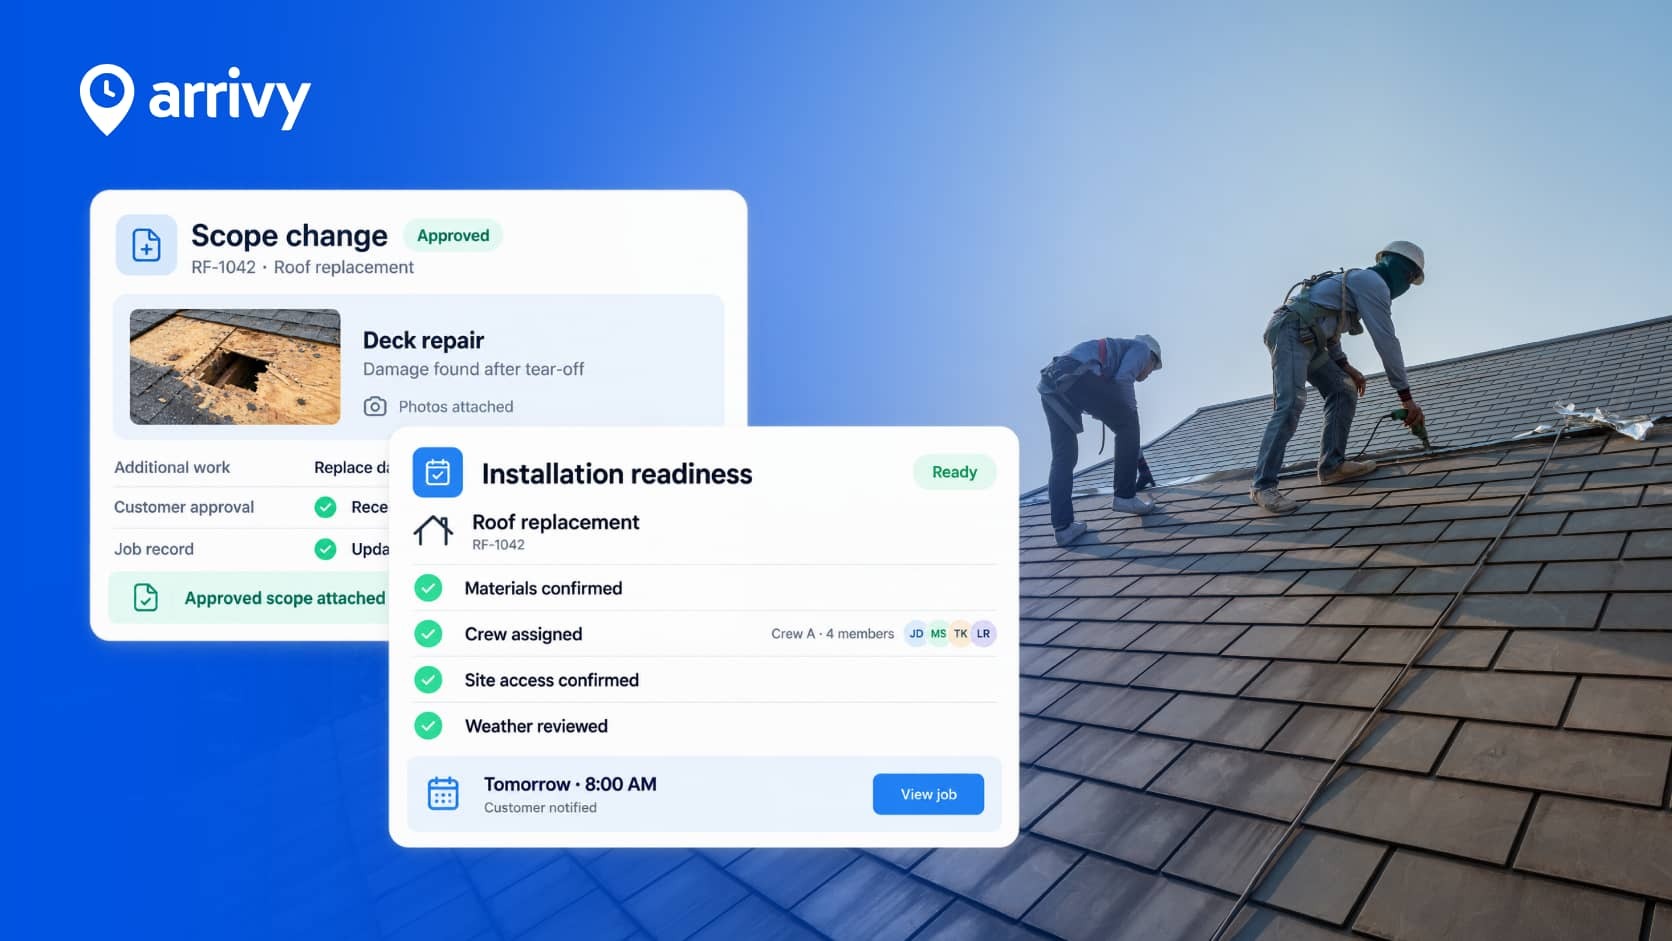
If those conditions change the contracted scope, the crew should document them before covering the area or carrying out additional chargeable work.
Photos and notes are useful here because they show what was actually found after the roof was opened.
Where customer approval is required, that approval should be attached to the same job record as the original scope.
5. Inspect and Prepare the Roof Deck
Once the existing roof covering has been removed, the deck can be checked properly.
Unsuitable or damaged sections should be dealt with before underlayment is installed. Loose debris and protruding fasteners also need to be addressed where required by the roofing system.
For roofing companies, deck inspection is a useful quality-control checkpoint because the condition will soon be concealed.
A simple field record might include:
This does not replace technical inspection requirements. It creates a record that the inspection took place and that identified repairs were dealt with before the next stage.
6. Install Leak Protection and Roofing Underlayment
Once the deck is ready, the required water-management layers can be installed.
Depending on the roof, leak-protection membrane may be used around areas such as:
Roofing underlayment is then installed across the required area of the deck.
The underlayment type, overlap, fastening, and placement depend on the roof covering, climate, local requirements, and manufacturer instructions.
This is one reason the roofing installation process should not be reduced to a single generic checklist. The company can standardize the inspection points, but the installation specification still needs to match the material being used.
7. Install Drip Edge and Flashing
Drip edge and flashing control water at roof edges, joints, penetrations, and changes in plane.
Common flashing locations include:
The correct sequencing of flashing and surrounding roofing materials matters.
Some flashing details also become difficult to inspect once the surrounding roof covering is complete. Those areas are good candidates for required progress photos or foreman checks.
Roofing flashing installation should follow the applicable roof-system and manufacturer requirements rather than a general field convention.
8. Install the Starter Course and Roof Covering
For asphalt roofing shingles, installation usually begins with the required starter system before the field shingles are laid.
The crew then installs the main roof covering according to the manufacturer’s specifications for items such as:
The same principle applies to other roofing systems. Metal panels, tiles, TPO, and EPDM each require their own installation method.
Where a roofing business uses multiple crews, required inspection points can be standardized even when the installation specification changes by roof type.
For example, digital forms can be used to collect job-specific checklists, photos, notes, and signatures from the field.
9. Complete Ventilation, Ridge Work, and Penetrations
The main roof covering may be in place while several important details still remain.
Depending on the project, crews may need to complete or inspect:
Ventilation should be evaluated as part of the roof and attic system rather than copied automatically from the previous installation.
Penetrations and transitions should also be checked before the project moves to final cleanup.
10. Complete Final Inspection, Cleanup, and Documentation
The roof can be physically finished while the job is still incomplete from an operations standpoint.
Closeout may still require:
It helps to separate field completion from job closeout.
A crew may finish installing the roof at 3 p.m., but the office may still be missing a change order, completion photos, or a customer signature. A defined closeout status makes that distinction visible.
Use Free Invoice Template
Roofing Installation Best Practices for Contractors
Most roofing best practices are straightforward to describe. The value comes from making them repeatable across jobs and crews.
Keep the Installation Specification With the Job
The crew should have access to the information needed for that specific project, including roof type, material, photos, scope notes, access instructions, approved changes, and relevant installation requirements.
This becomes more important when crews move between different roofing systems.
A general company checklist can confirm that required steps were completed, but it should not replace the manufacturer’s installation specification.
Record Work That Will Later Be Covered
Deck repairs, underlayment, flashing, and some penetration details may no longer be visible at the end of the project.
Photo documentation is most useful before those areas are covered.
A company may decide that certain job stages cannot be marked complete until the required photos are attached. That gives managers a way to review concealed work without being on every site.
Plan for Weather Changes Before They Happen
Roofing schedules are exposed to weather in a way that many other field-service schedules are not.
The company should define who decides whether work moves, who reschedules the crew, how material deliveries are handled, and how the customer is notified.
Without a defined process, one weather change can result in different information being held by dispatch, the crew, the customer, and the supplier.
Keep Changes Attached to the Original Scope
Replacement work often changes after tear-off.
If the deck needs additional repair or another concealed condition affects the scope, the record should include:
This is particularly useful when the person approving the work is not on site.
Arrivy’s Quotes feature can support structured estimate and approval workflows alongside field operations.
Separate “Installation Finished” From “Job Closed”
This is a useful distinction for companies with office staff, production managers, and several crews.
A job should not necessarily be closed because the crew has left the property.
Required photos, customer sign-off, warranty records, unresolved punch-list items, and invoicing information may still be outstanding.
Using separate statuses gives the office a clearer view of what still needs attention.
Review Callbacks by Cause
Callbacks should be categorized rather than handled only as individual service visits.
Useful categories can include:
Over time, the pattern is more useful than the individual callback.
If one type of problem repeatedly appears on a particular roof system or at the same project stage, the company has something specific to review.
Need field records without another paper checklist?
Start with Arrivy for free
How Long Does It Take to Install a Roof?
There is no fixed installation time that applies to every roof.
A straightforward residential asphalt-shingle replacement may be completed quickly, while a larger or more complicated project can take several working days or longer.
The schedule can be affected by:
It is also useful to separate roof installation time from total project time.
Installation time covers the period when the crew is carrying out the roofing work.
Total project time includes the surrounding stages: inspection, estimate approval, materials, scheduling, permitting where required, installation, closeout, and invoicing.
For an operations manager, both figures matter.
A crew may complete the physical installation efficiently while the project still spends too long waiting between approval, scheduling, closeout, and billing.
What Affects Roof Installation Cost per Square Foot?
Roof installation cost per square foot is useful for early estimating, but it should not be treated as a flat rate that applies equally to every property.
Two roofs with the same area can require very different labor and material inputs.
Factors include:
Roofing contractors should price the actual scope and then compare the estimate with the final job cost.
Two useful post-job comparisons are:
VS.
Actual Cost
VS.
Actual Margin
Those figures can show whether labor hours, material waste, disposal, change orders, or callbacks are consistently affecting profitability.
For more on the estimating side, see Arrivy’s comparison of roofing estimating software and its job quoting software.
Want to check the actual cost of a roofing job?
Calculate Roofing Service Cost
Does the Roofing Installation Process Change by Material?
Yes.The project may still move through inspection, planning, installation, inspection, and closeout, but the technical installation method can change considerably.
Asphalt Shingles
Asphalt-shingle systems commonly involve deck preparation, leak protection, underlayment, drip edge, starter shingles, field shingles, flashing, ventilation, and ridge components.
The manufacturer specifies fastening, exposure, overlap, and detailing requirements.
Metal Roofing
Metal roofing installation has different requirements for substrates, clips or fasteners, panel layout, penetrations, flashing, and thermal movement.
Standing-seam and exposed-fastener systems also differ from one another.
TPO and EPDM Roofing
TPO and EPDM are low-slope membrane systems.
Their attachment methods, seams, substrate preparation, flashing, and penetration details differ from steep-slope shingle roofing.
For this reason, material-specific installation topics are better treated as separate technical guides rather than compressed into one universal roofing method.
Common Roofing Installation Problems to Watch For
The following issues are worth checking during the job rather than discovering them at closeout.
| Issue | What to Check |
|---|---|
| Scope does not match site conditions | Compare the work order with conditions before starting |
| Deck damage discovered after tear-off | Document and approve additional repairs |
| Missing roofing accessories | Confirm all materials before crew dispatch |
| Underlayment or flashing details are concealed too early | Capture photos before covering critical work |
| Crew uses the wrong job information | Keep current scope and changes attached to the work order |
| Weather changes the installation plan | Update schedule, crew, customer, and related dependencies |
| Additional work is performed without approval | Record change orders at the point of discovery |
| Final documents are missing | Use a closeout checklist before moving the job to billing |
| Callback cause is unclear | Categorize the issue against job and crew records |
Roofing Installation Quality-Control Checklist
A roofing company can adapt the following checklist by material, project type, and local requirements.
Before Installation
During Installation
Before Closeout
Digital checklists are useful when the company needs the same documentation from every crew. They also make it easier to identify whether missing information is a one-off problem or a recurring part of the workflow.
Managing Roofing Installations Across Multiple Crews
Managing one roofing crew and managing five or ten crews are different operating problems.
With several active projects, office staff need to know:
That information is difficult to maintain when scheduling lives in one system, job photos in another, approvals in email, and field updates in text threads.
Arrivy’s roofing project management software is designed to keep roofing inspections, estimates, schedules, installation work, field documentation, customer communication, and completion records connected.
If you are comparing systems for this type of workflow, the guide to field service management software for roofing companies covers the broader software category.
Using Arrivy to Manage the Installation Workflow
Arrivy handles the operational work around the physical roof installation.
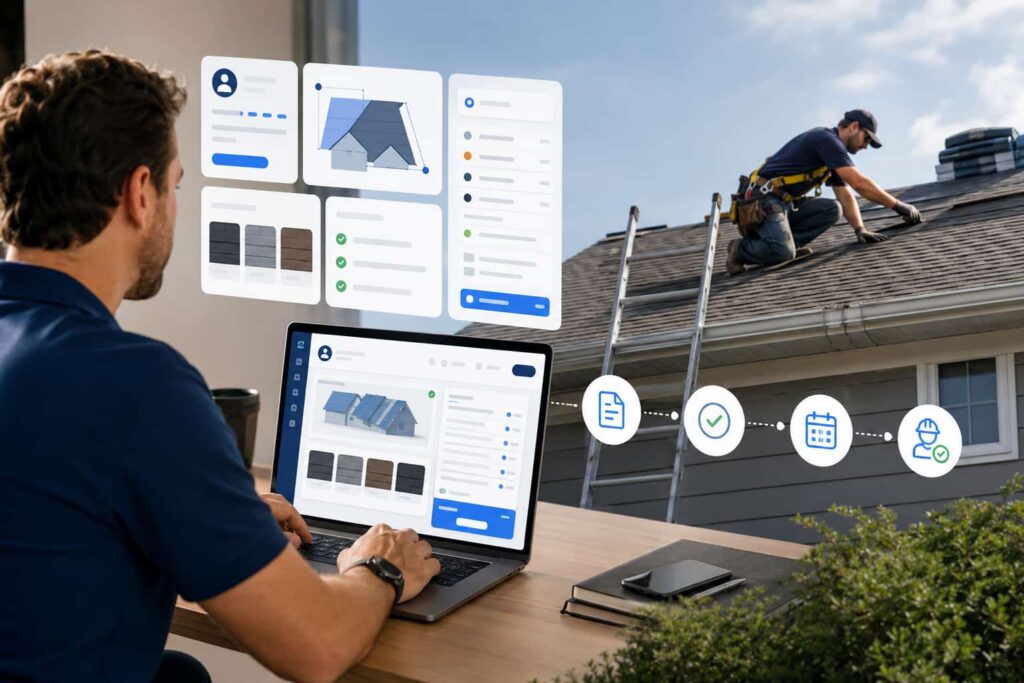
A roofing workflow can be structured around stages such as:
Once an estimate is approved, the installation can be scheduled and assigned to the appropriate crew.
Field teams can then access the job details, update status, complete forms, attach photos, add notes, and collect signatures through the mobile app. Office teams can see those updates against the same job instead of requesting them separately from the crew.
Customer communication can also follow the job. Arrivy supports automated SMS and email notifications, appointment information, live arrival updates, and customer-facing progress information.
This is most useful when the business has moved beyond a schedule that one person can manage from memory.
See the workflow using your own roofing process